You do NOT have to use uppercase (capitals), or uppercase and lowercase when entering information. Once you press ![]() the fields will automatically change to Uppercase.
the fields will automatically change to Uppercase.
You can either use your mouse to go from field to field, or use the Tab key on your keyboard.
Whenever making changes or entering something for the first time, ALWAYS click or press ![]() when you want the system to Accept your entries.
when you want the system to Accept your entries.
Any errors, or missing information, will be displayed in Red on the bottom of the screen.
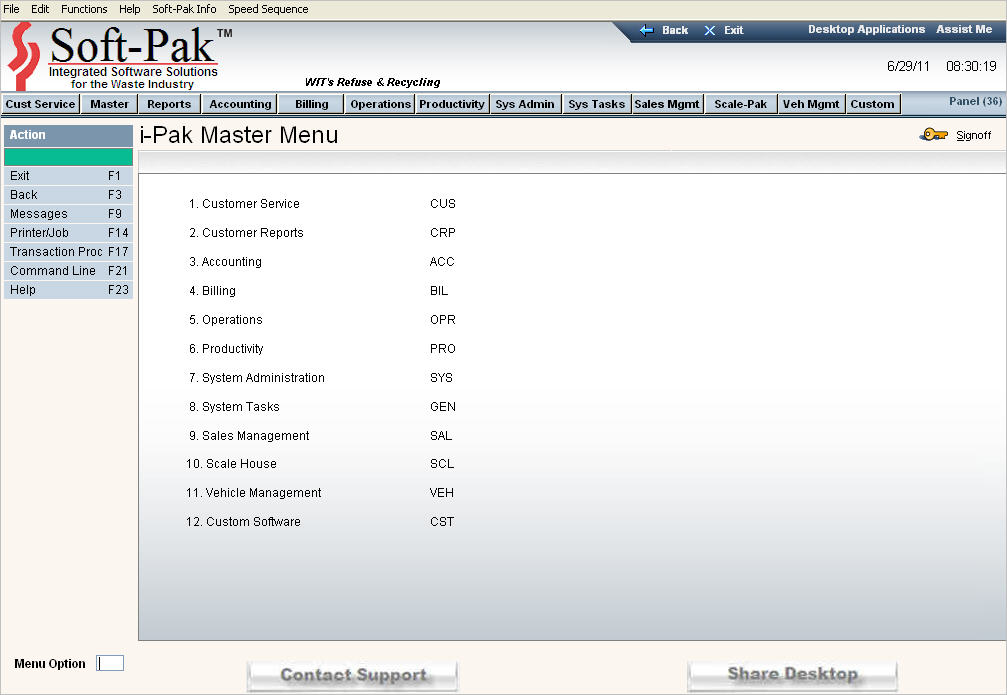
Any functions that can be used on the screen are displayed on the Left Hand tool bar in the Functions Section. You can either use the function keys on your keyboard or your mouse to activate the functions.
The Speed sequence on the Left hand tool bar provides a quick access to Master Menu options.
To print a screen you are viewing, click on the ![]() located on the active window.
located on the active window. ![]() The screen will print EXACTLY how you see it - including the top and left tool bars. If you have a color printer, you might want to change from color to gray scale.
The screen will print EXACTLY how you see it - including the top and left tool bars. If you have a color printer, you might want to change from color to gray scale.
With boxes, a ![]() indicates yes and a blank box indicates no.
indicates yes and a blank box indicates no.
With buttons, a ![]() indicates yes and a blank button indicates no.
indicates yes and a blank button indicates no.